
Build Your Own Record Rack - repost
(NOTE: this is a repost from June 15, 2020, but I wanted to reintroduce this topic as a companion to a discussion from this week’s episode of 1000 Greatest Misses, a podcast I host with Christopher Grey. If you own vinyl, this may be right up your alley).
I’m not a naturally handy guy, but over the years I’ve managed to take on some modest home improvement projects with a degree of success, mostly the result of YouTube videos and frantic emails to my exceptionally handy friend, Rick. Last March when it became apparent that the pandemic would result in a lot of unwanted time at home, I decided to overcome my typical trepidation and take on a new project, one I’d been grappling with for some time: building a few shelving units to store my growing collection of vinyl records. I’d been searching for a replacement of my plastic-bins-scattered-around-the-basement approach for quite some time, but nothing on the market satisfied my three criteria: forward facing, attractive and inexpensive.
Enter, the Google search. Actually enter dozens of Google searches. And lo and behold, several pages deep into one of my explorations, I came upon a marvelous blog post called “I Built a DIY Vinyl Record Shelf, And you Can Too!” This sounded right up my alley. The post was over seven years old, but the concept was timeless: build a great-looking unit that holds around 500 records with one sheet of 8x4 plywood. Fantastic.
The author of the blog got his idea from what is now a decade-long thread on AudioKarma, a website I’d never heard before but whose entry is a treasure trove of information from dozens of helpful contributors. It all started with a great concept and has since evolved to include every possible variation you can imagine, with multiple draft designs that accommodate different needs. If you’re interested in building your own rack, I strongly encourage you to read the entire thread before you begin. I did not, and wish I had. It may take you several hours, but it’ll help you determine in advance which features are important to you and which design works best. Had I read these comments in full I would have avoided a few mistakes along the way. As it is, I built two identical racks, and then a third of my own design that includes record storage on the bottom and bays for a receiver and turntable on top. None of my three projects went perfectly, and my lack of craftsmanship certainly reared its ugly head from time to time, but I learned a lot about woodworking and ultimately made decent-looking alternatives to the plastic bins I’d been using for years.
Along with screws, glue, casters, sandpaper, and polyurethane, lights, etc., I figure each unite costs somewhere around $100. Not too shabby!


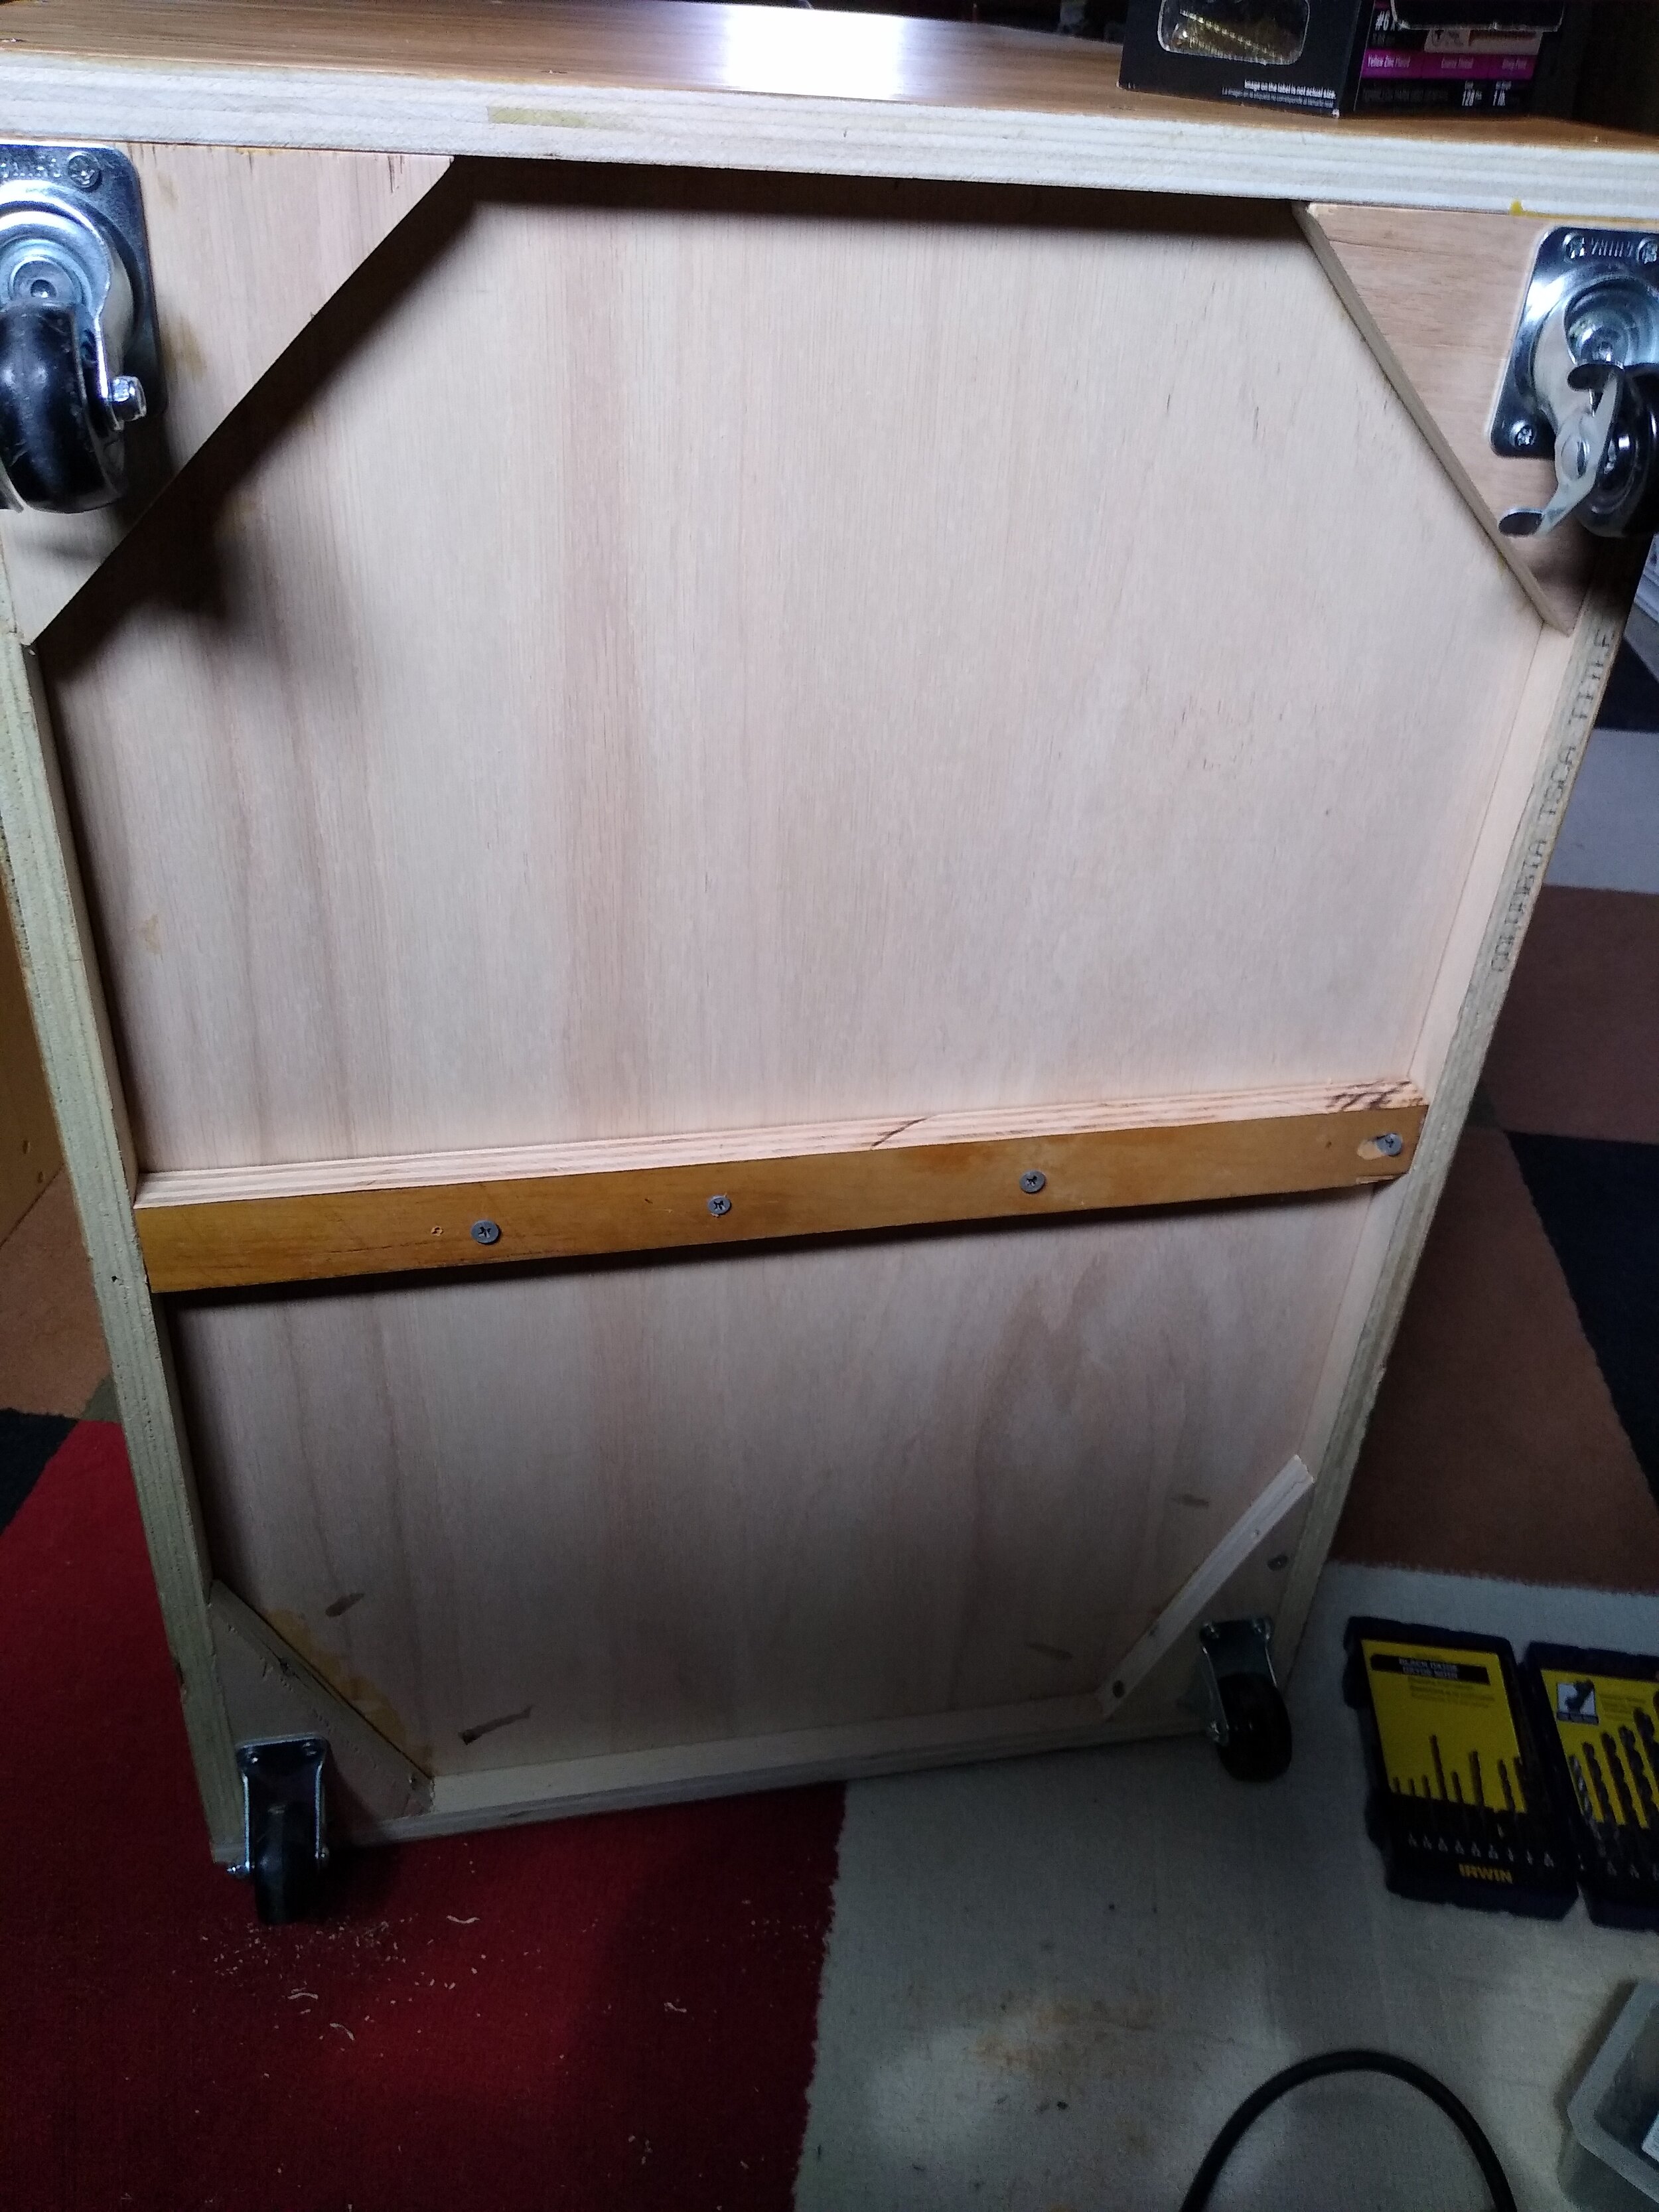

Above: records will fill the bottom eventually. Far left: speaker stands that I built to practice using a pocket hole jig. Left: extra support for the bottom shelf.
Here are a few things you may find helpful:
1) Beware cutting your plywood at the store. The guys at Home Depot were well-meaning, but their cuts of my red oak plywood (around $53) with a dull an imprecise cutting tool ended up shredding my wood something fierce. It took a lot of energy and frustration to work around the most dreadful-looking cuts. If you have a friend with a truck or a van, consider doing this at home.
2) Buy or build a square jig to hold your plywood together at right angles. I built one very similar to the one in this video: https://www.youtube.com/watch?v=HPA8FDTcfcE
3) Get a table saw or borrow one. I did not and it showed, because even though I used a guide with my circular saw, I was never able to make my cuts absolutely perfect, resulting in slight gaps and mismeasurements that affected the final project. I’m still happy with my units, but they could have been a bit better.
4) Since being able to move your record rack once it’s filled with records is key, definitely include casters in your design. I purchased reasonably-priced 90-pound casters from Home Depot and they work fine. Don’t forget to include a few that swivel and lock.
5) Use a counter sink to hide your screws or use a pocket hole jig. I did the former from the first two racks I built and pocket holes for the third unit along with a set of speaker stands I built (these actually turned out the best of all of my work). I loved using my Kreg Pocket Hold Jig 320 and will find new uses for it in upcoming projects I’m sure.
6) Use wood glue for all of your wood joints.
7) Buy a bunch of clamps, including a few trigger clamps for ease of use and a few clamps that are long enough to accommodate your record bin. I think mine are 48 inches, and they were hugely helpful.
8) Consider adding supports for the shelves. Records weight a lot, and though it might not have been necessary, I did add a cross-bar support for the lower shelf and perimeter supports for the top shelf. If nothing else, they give me peace of mind.
9) Be especially careful with the top shelf as this is the most visible. On the last rack I made that’s housing a turntable on top, I ended up with gaps along the edges that required the use of wood putty, and it looks pretty bad. So bad, in fact, that I decided to purchase a bunch of rock band stickers from RedBubble to hide my work! I love the stickers, but they were not part of the original design.
10) Which reminds me, consider decorating your racks with stickers! This was a helluva lot of fun, and it requires no carpentry skills.
11) If you don’t want to stain, don’t. I personally hate using stain because I never like the way it turns out – just another one of those handyman skills I haven’t yet mastered. I kept my red oak plywood bare and used three coats of polyurethane to protect it and give it a bit of a sheen. Looks great.
12) Don’t fret so much about how to best apply polyurethane. I stressed out about this because everyone had an opinion and almost none of them were consistent. Put a few coats on, sand lightly, put another coat on, and you’re good to go. It’s just polyurethane. It’s not life and death.
13) Consider using real wood iron-on veneer. I had no idea this product existed, but it’s another one of those great tidbits offered by the AudioKarma gang. It’s an absolute bitch to work with in my opinion because it’s wider than the edge of the plywood and therefore needs to be trimmed. Nothing I used – a trimmer designed specifically for this task or just good old sandpaper – worked well. It either just folded the veneer or disrupted it enough to lift it off the plywood despite the adhesive. I eventually got the job done and it looks great, but it was an unpleasant process.
14) Install LED lights for the bottom racks or your records are going to be hard to see. This part of the project was easy! I purchased these stick-on lights from Amazon and they work great.
15) Use record dividers for a professional look. There are a bunch of options out there, mostly overpriced or formatted incorrectly, but I like the option I found at Amazon along with a white ink Sharpie.
I’m probably missing a few additional pieces of advice, but by scanning the AudioKarma thread you will have a lot of great ideas that people of shared over the years. Happy building!